Getting started
Welcome. This app takes the chore out of quarterly bookkeeping: you bring in your bank transactions and your receipts, it reads the receipts for you and matches them to the right payments, tracks your business mileage at the Dutch tax-free rate, sorts out your BTW, and hands you a clean, accountant-ready spreadsheet at the end of every quarter. This guide gets you from your first sign-in to your first finished quarter.
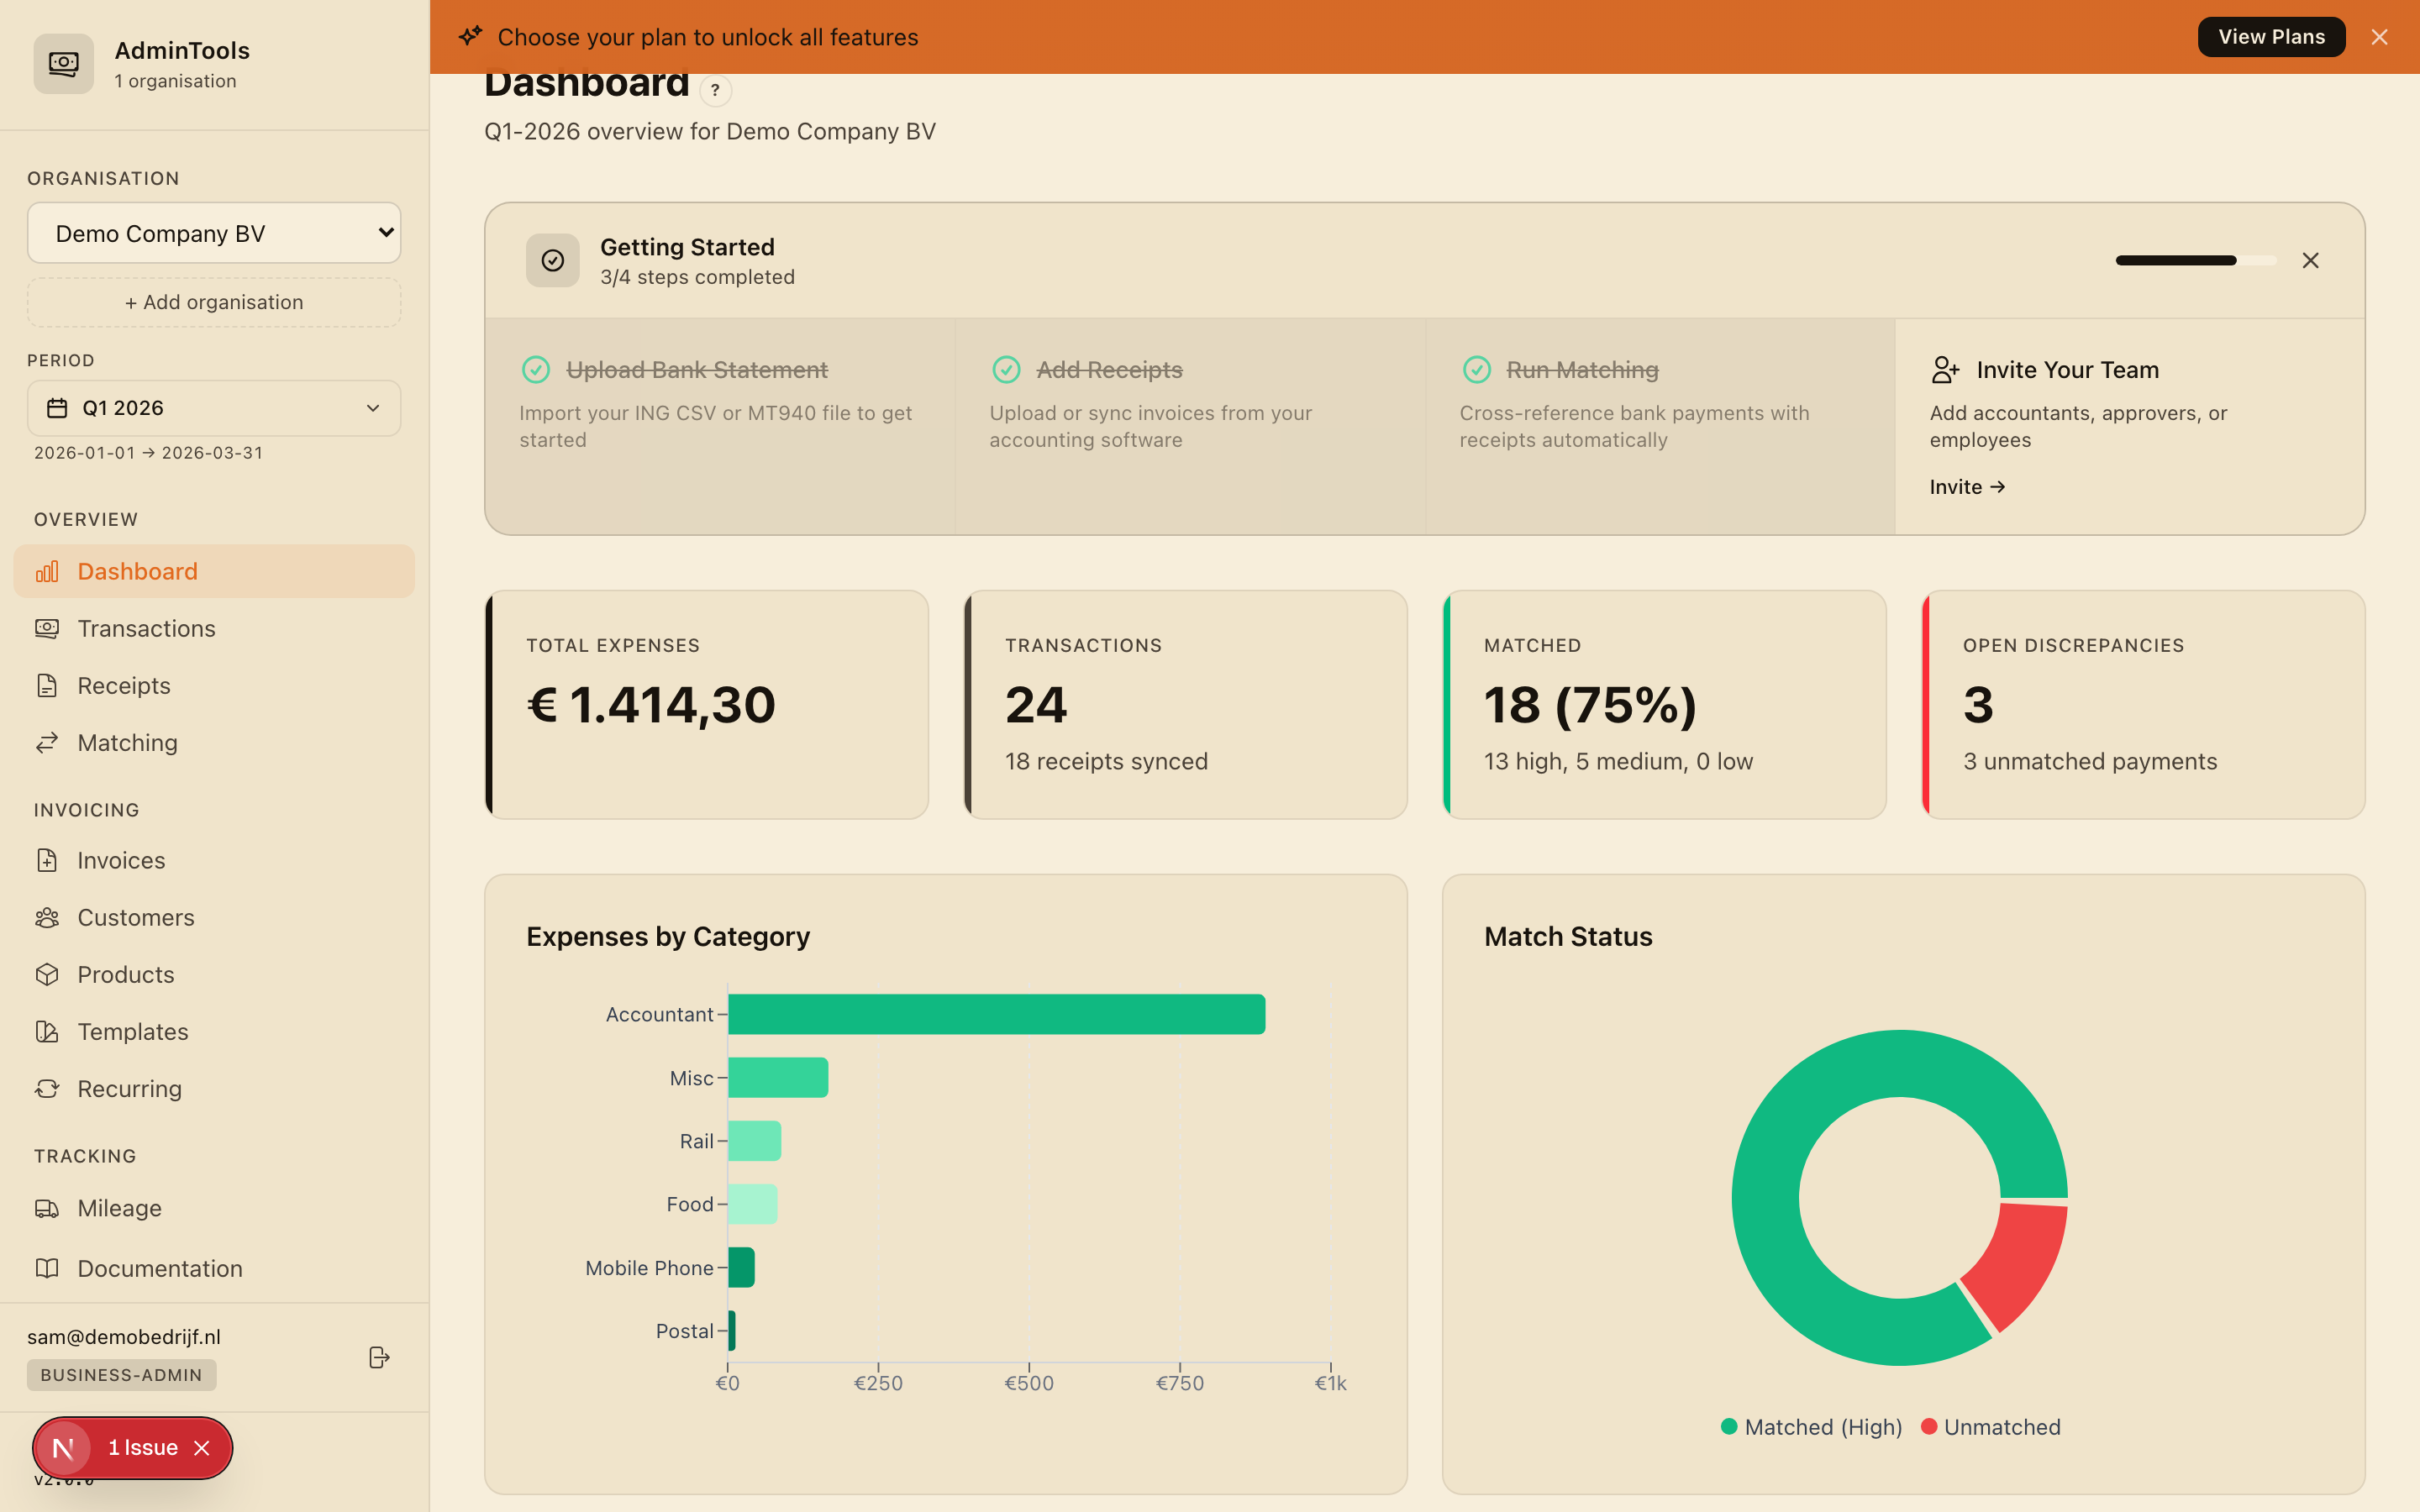
What this app does
You upload your bank statements and your receipts. The app reads each receipt automatically (supplier, total, BTW and date), lines those receipts up against the matching bank payments, and flags anything that does not add up so you can fix it. Alongside that, it tracks business trips at €0.23 per kilometre, keeps your BTW organised at 21%, 9% and 0%, and produces a single spreadsheet you can send straight to your accountant each quarter. Everything is organised per business and per fiscal quarter (Q1 is Jan–Mar, Q2 Apr–Jun, Q3 Jul–Sep, Q4 Oct–Dec).
Sign in or start your free trial
Open the app in your browser and sign in. If you do not have an account yet, start your free trial from the welcome screen and create your sign-in details. The first person to sign up becomes the owner of the account and can later invite the rest of the team.
If you would rather look around before committing any of your own data, you can jump straight to the demo (see "Try it with demo data first" below).
Name your business and pick your accounting software
The first time you sign in, a short setup wizard walks you through getting your business ready. There is nothing to install and nothing technical to configure.
- Welcome — a quick overview of what the app does, with a button to try it with demo data if you would rather explore first.
- Add your business — type your company name. That is all that is required to get going.
- Choose your accounting software — pick WeFact, Exact Online, or None. Choose None if you are not sure; you can always connect later.
- Connect accounting (optional) — if you picked WeFact or Exact Online, you can connect it now, or skip and do it later from Settings.
- Bring in your bank data (optional) — upload your first bank statement here, or skip and do it later from the Transactions page.
- Ready — a summary of what is set up, and then you land on your dashboard.
Tip: You can safely skip the optional steps. Connecting your accounting software and importing your bank data both have a proper home in the app and can be done any time.
Try it with demo data first
If you would like to see the whole thing working before you put in your own numbers, click Try with Demo Data on the welcome screen. This loads a complete sample business with a full quarter of realistic transactions, receipts, matches and mileage already in place.
It is the fastest way to understand the workflow: you can click into the dashboard, open the matching screen, look at a quarterly export, and get a feel for everything without any risk to real data. When you are ready, set up your own business and start fresh.
Your first 15 minutes
Once your business is set up, here is the loop that takes you to a finished quarter. Work through it in order the first time; after that it becomes second nature.
- Get your transactions in. Go to Transactions and either connect your bank for automatic import, or upload a bank statement file (an ING CSV or an MT940 export). Re-importing is always safe — the app never creates duplicates.
- Add your receipts. Go to Receipts and drag in your receipts as photos or PDFs. The app reads each one and fills in the supplier, total, BTW and date for you. If you use WeFact, you can also sync your purchase invoices for the quarter in one click.
- Run matching. Go to Matching and let the app pair your receipts with the bank payments that settled them. Each suggestion comes with a confidence level so you know which ones to trust at a glance.
- Review what needs you. Approve the matches that look right, and check the Discrepancies list for anything that did not line up — a payment with no receipt, a receipt with no payment, or an amount that does not match. Resolve those one by one.
- Export for your accountant. Go to Export and download your quarter as a single spreadsheet, with separate sheets for purchases, mileage, the bank reconciliation, discrepancies and a summary.
That is a full quarterly reconciliation. Each of these steps has its own detailed guide when you want to go deeper.
Tip: Press
?anywhere in the app to see the keyboard shortcuts.
Switching the interface language
The whole interface is available in five languages: English, Nederlands, Deutsch, Français and Español. You can switch at any time from Settings. Your choice of country also sets sensible fiscal defaults for you — currency, VAT/BTW rates and the mileage rate — so the numbers match how you actually file.
Where to go next
You now have the shape of the whole workflow. When you are ready to dig into a particular step, these guides pick up where this one leaves off:
- Getting your bank transactions in — connect your bank automatically, or upload a statement file.
- Receipts and purchase invoices — how the app reads your receipts and how to check the details.
- Matching and discrepancies — the heart of reconciliation: approve matches and clear up what does not line up.
- Mileage and reimbursements — log trips at €0.23/km and track anything you paid from a personal account.
- VAT/BTW and your quarterly export — review your BTW and hand the spreadsheet to your accountant.
- Inviting your team and your accountant — bring in colleagues and give your accountant safe, scoped access.
Take a quarter through end to end once, and the rhythm of it will be obvious. From then on, most quarters are a fifteen-minute job.